I don’t like to do things by halves so obviously for my first foray into the world of sourdough, I decided it was imperative that I make the starter myself. Here’s what I learned:
- It’s actually just flour + water + time (I know, this also blew my mind).
- Texture is more important than absolute measurements.
- Your starter is a living breathing thing – it needs to be fed, but much like a Peace Lily, it will be quick to forgive if you forget about it every once in a while.
- Persistence will pay off.
The basics
If I were to distill the process into simple steps, and leave the rest to common sense, I would:
- Start with a clean jar and its lid. I used what I think is an old pickle jar.
- In this jar, mix in 50/50 bread flour to water. I started with 100g of each.
- Place the lid of the jar back on, but don’t fasten it, keep it a bit loose so air can move.
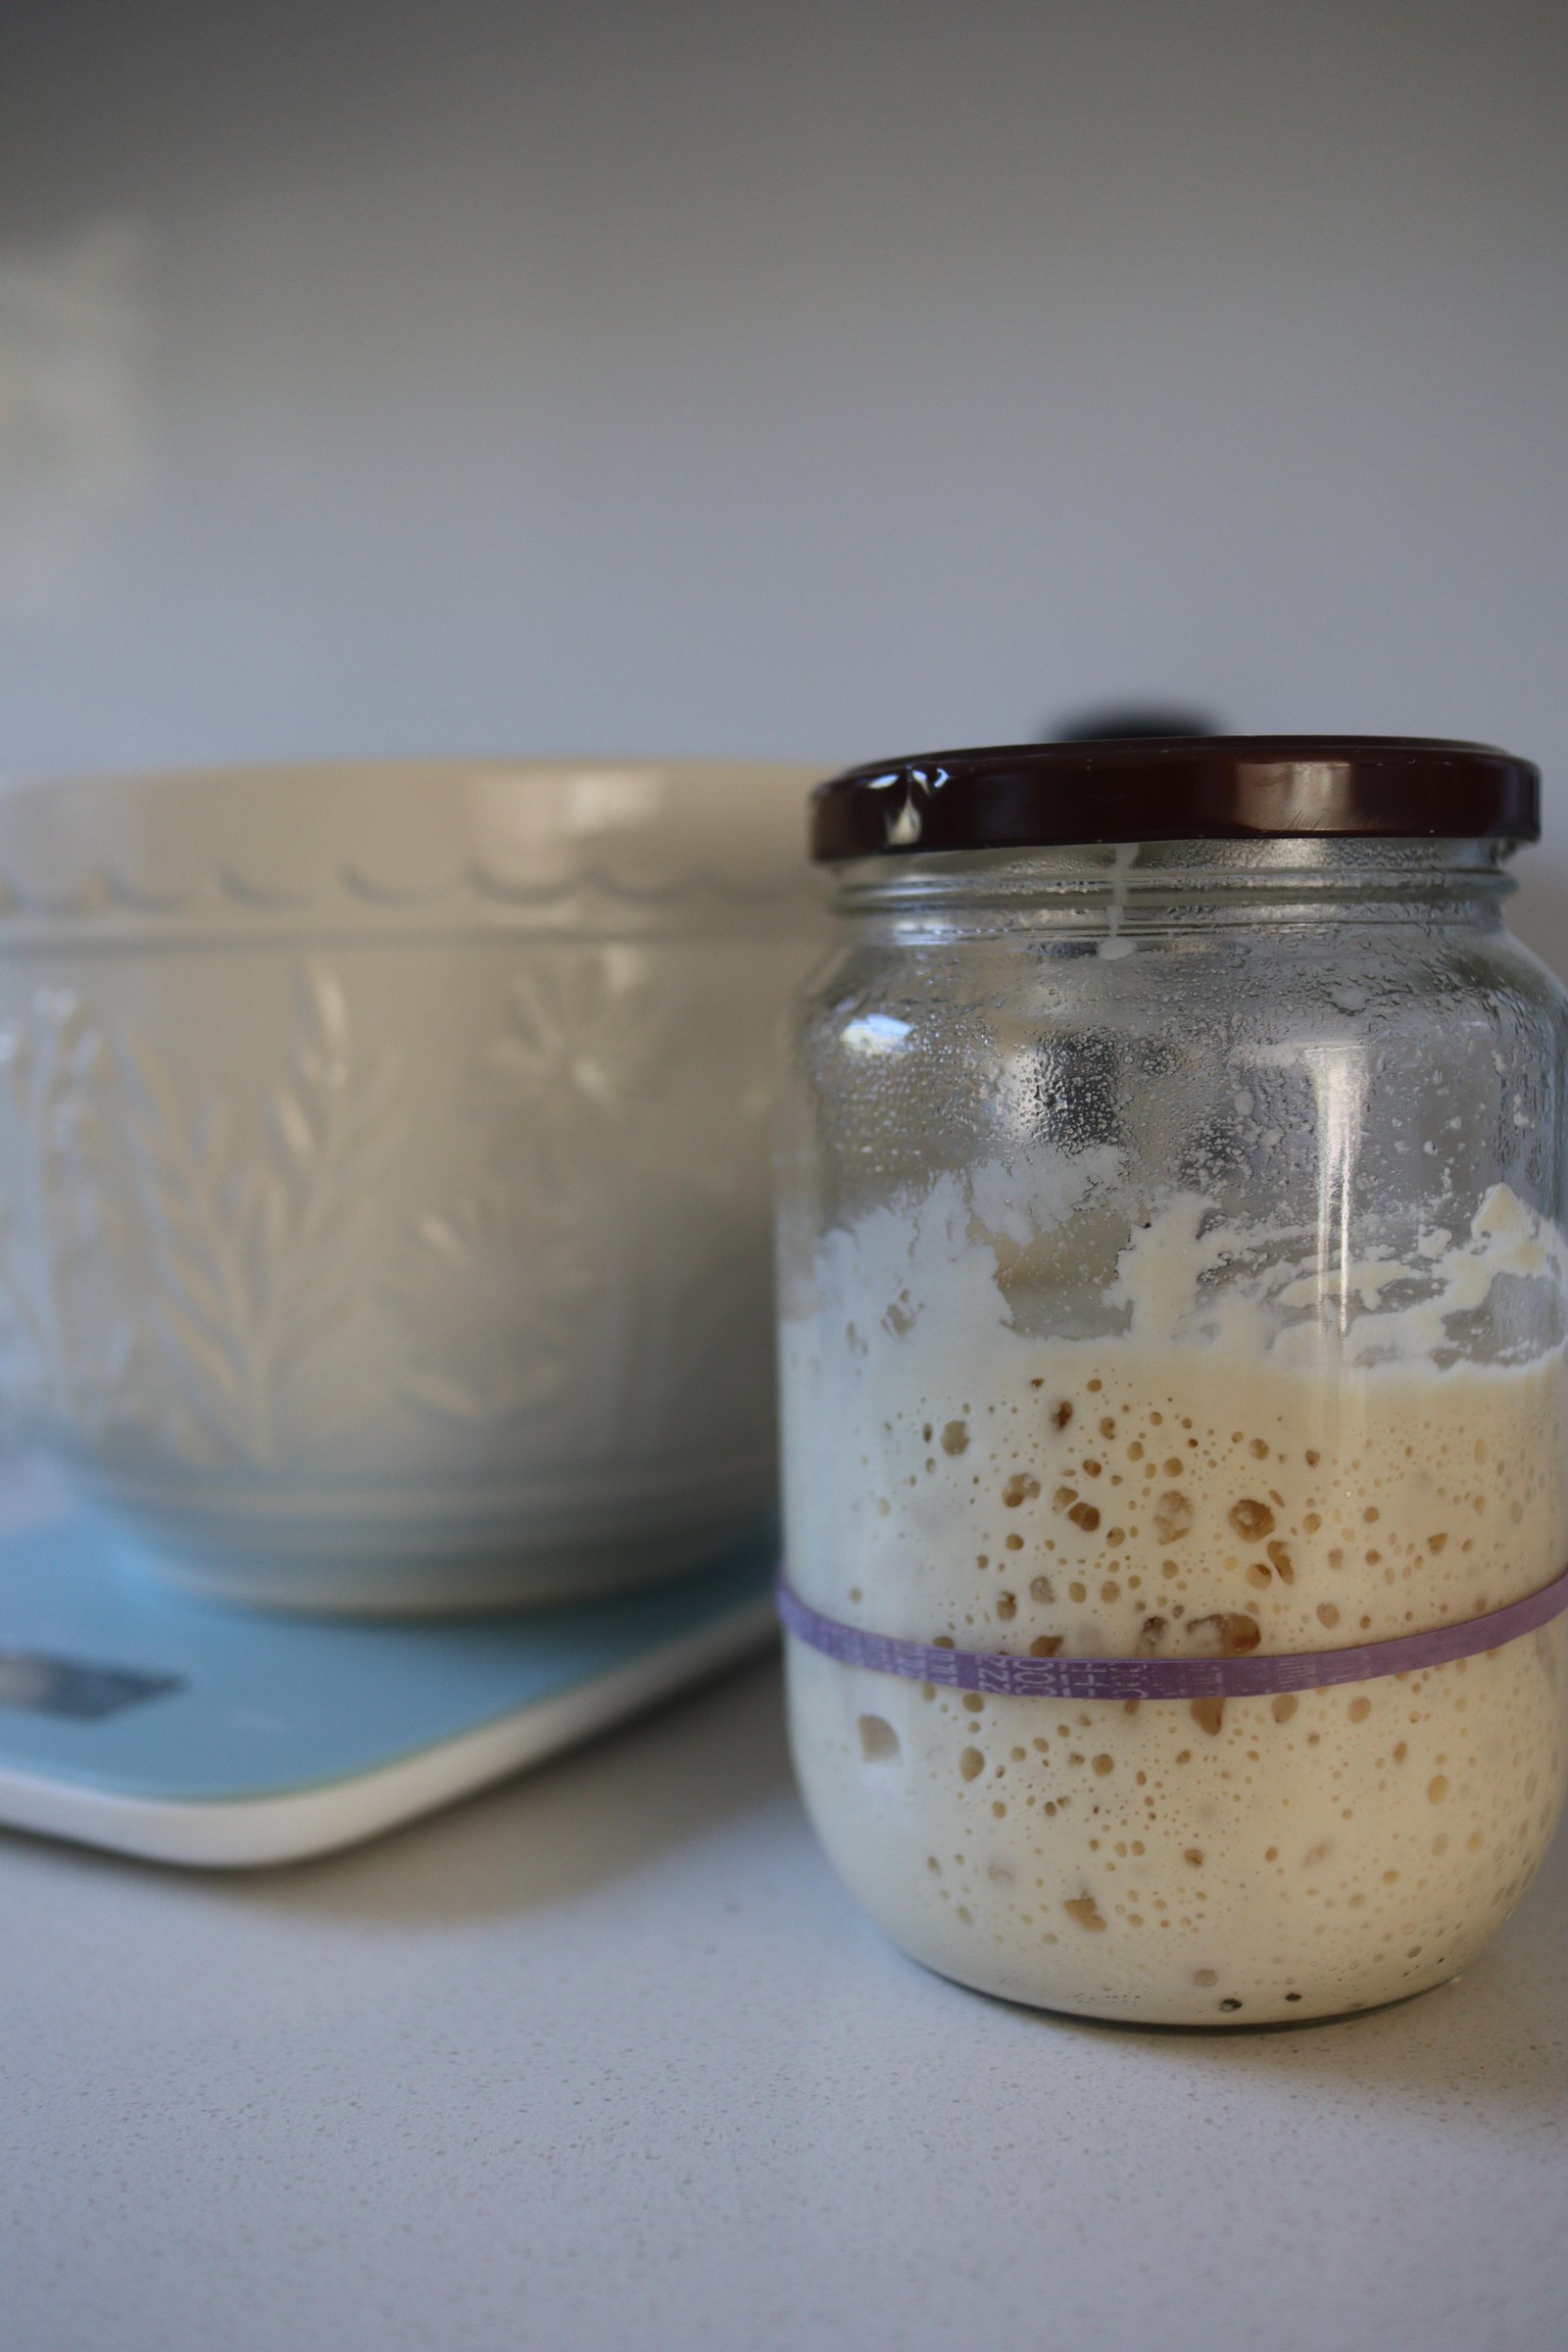
- Place a rubber band around your jar to indicate how far up your starter is. This will give you an idea of how it’s tracking.
- Tuck the jar away in a dark and ideally not-too-cold corner of your kitchen. For me it was the cupboard on top of the coffee machine, so it got a little daily boost of warmth.
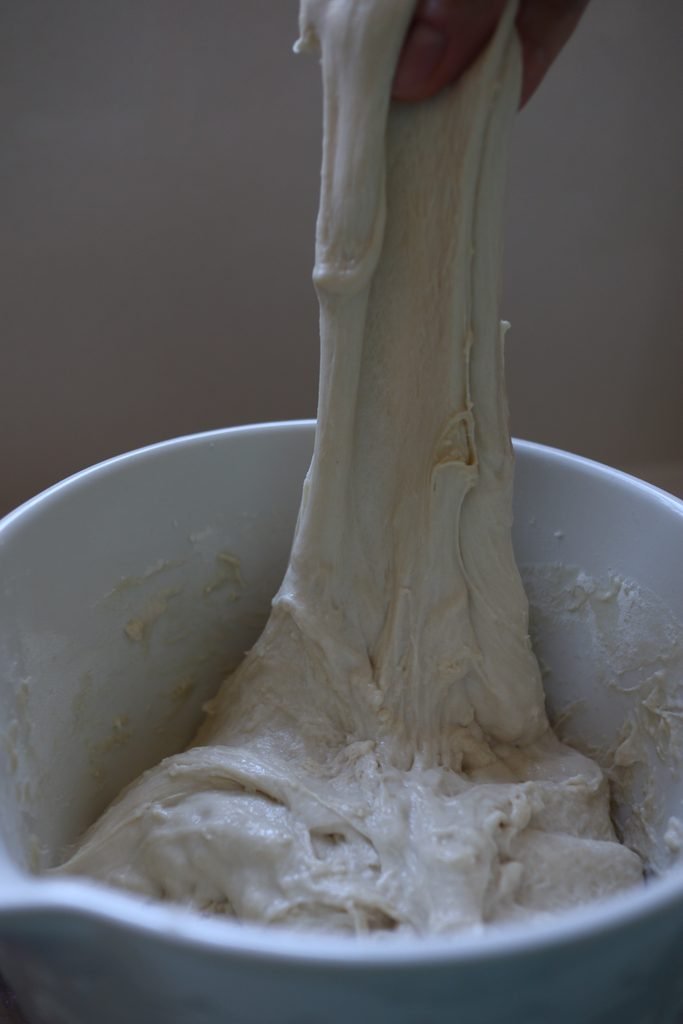
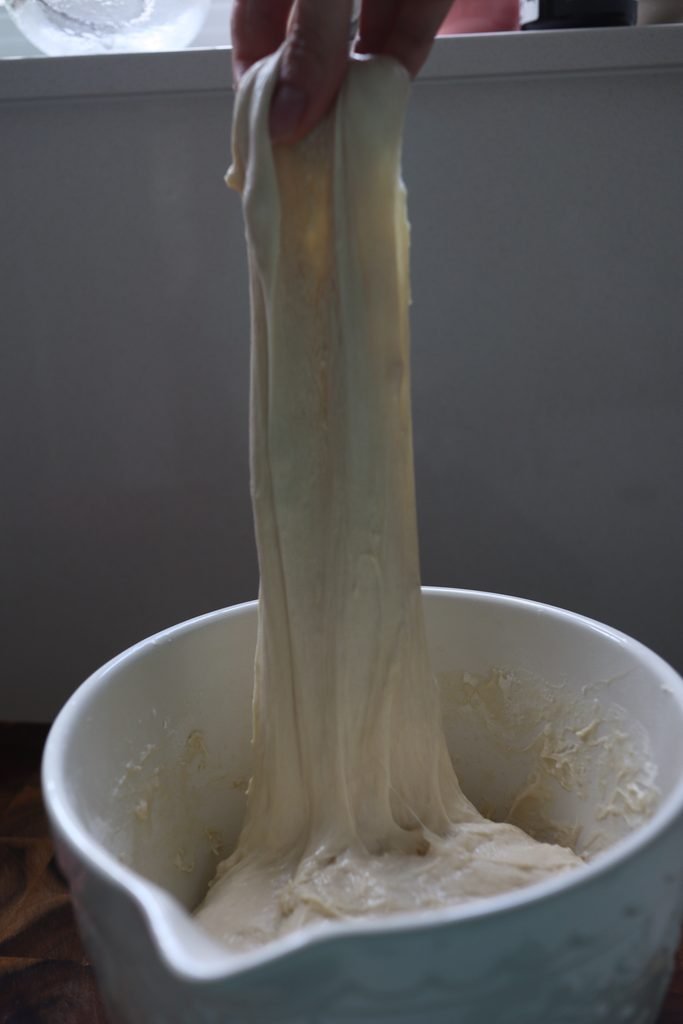
- Every day, discard some of your starter before feeding it. For the first week I discarded about half and fed it 40g of bread flour to 40g of water. Quickly, it became apparent that this was too liquidy. So I reduced the ratio accordingly to something more like 40g of flour to 30g of water. Eventually, it was more like 40g of flour to 20g water. This is where the common sense comes in – look for texture – you want it thicker than you maybe realise. See image below for how thick I was aiming to get mine.
- Every time you discard and feed, adjust the rubber band, so that you can keep track of your baby’s progress.
- Now some places on the internet will tell you that after 7-10 days, your sourdough starter will be primed and ready for action. Well, not if you’re anything like me and 👀occasionally👀 forgot to feed the little guy. What I say here is – don’t give up! Just pick up with the discards and feeds where you left off and preserver! If it’s any consolation, my starter took a good month to become established. Mostly because I kept ignoring the calendar reminders to ‘feed the starter!’.
- Eventually, your starter will begin to give you signs of life, glimmers of hope – a few bubbles, a promising rise. Only once it is looking abundantly bubbly and has doubled in size should you consider using it for baking. You will know when the time is right, call it parent’s intuition!
- Beyond this, I store mine in the fridge. Take it out when I want to use it and feed it a couple of times before I make bread, ensuring I am getting peak rise before I do.
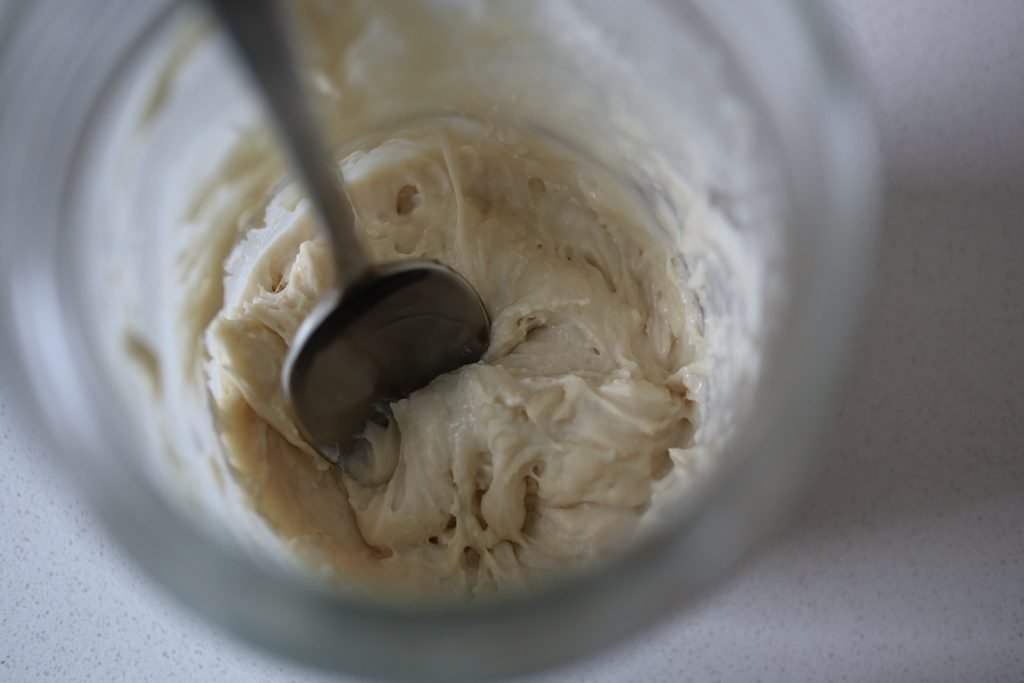
What if my starter is looking a little crusty, moudly, smelly?
Firstly, don’t panic. I’ve seen a few alien looking things on this journey, and so far none have been irredeemable. That goes for smells too – especially in the first week, that’s when (in theory) the bad bacteria is losing the war and they are just smelly losers. The funky smells will eventually subside.
Generally, discarding of any suspect layers and transferring the remaining starter into a fresh jar will do the trick! It’s also wise to scrape down the sides of the jar every time you discard and feed (not pictured above) because those bits of starter stuck to the sides of the jar are a really tempting little snack for mould and such.
Where I would caution is if it starts to grow anything green or blue or black or pink. At that point, it’s time to ❆let it go ❆.
I’m obviously not pioneering sourdough starter here, so the wider internet already has plenty of advice on how to remedy a sad looking starter, but the general sentiment is: it’s probably going to be fine!
What kind of flour? What kind of water?
Unfortunately, I can only comment on what I’ve used so far and that is:
- bakers plain flour
- filtered water
I have heard that varying these can impact the quality of your starter. But I suspect that if you have made it this far on this post, your priorities are the same as mine – just getting started before you finesse your process.
And now for the bread!
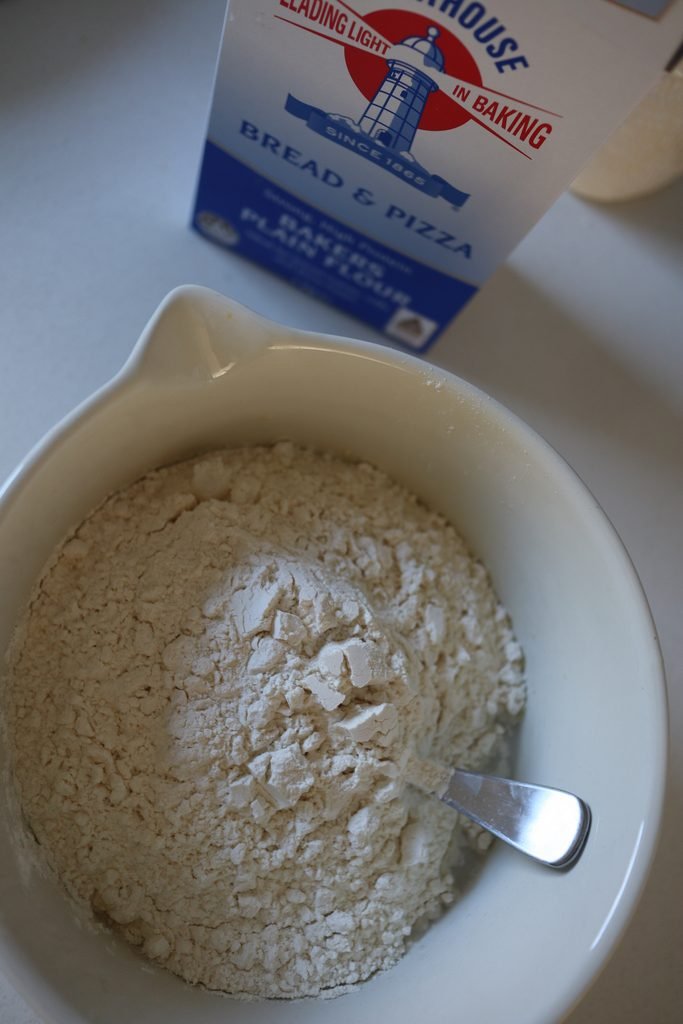
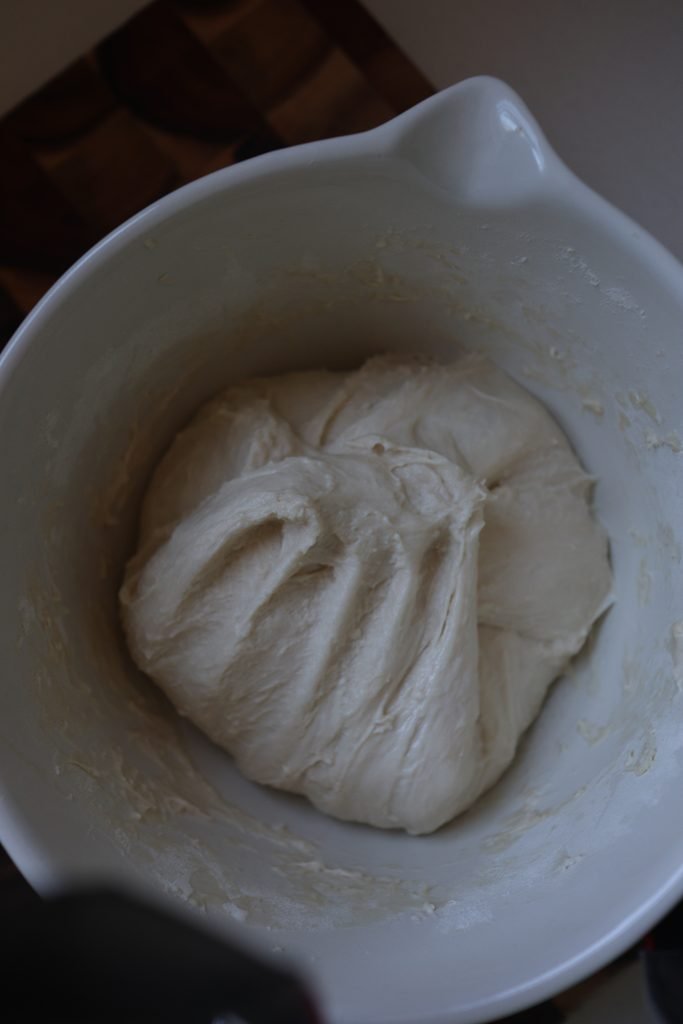
This is, of course, why we started this journey at all. Unless the reason you’re here is to generate sourdough discard so that you can make my sourdough discard mini pretzels. Which is fair enough.
I won’t re-invent the wheel here, Alexandra Cooks’ recipe has yet to let me down. The ONLY thing I changed, was adding a little bit of olive oil to my starter mixture. I also only use 50-65g of starter because it’s hot in Sydney right now!
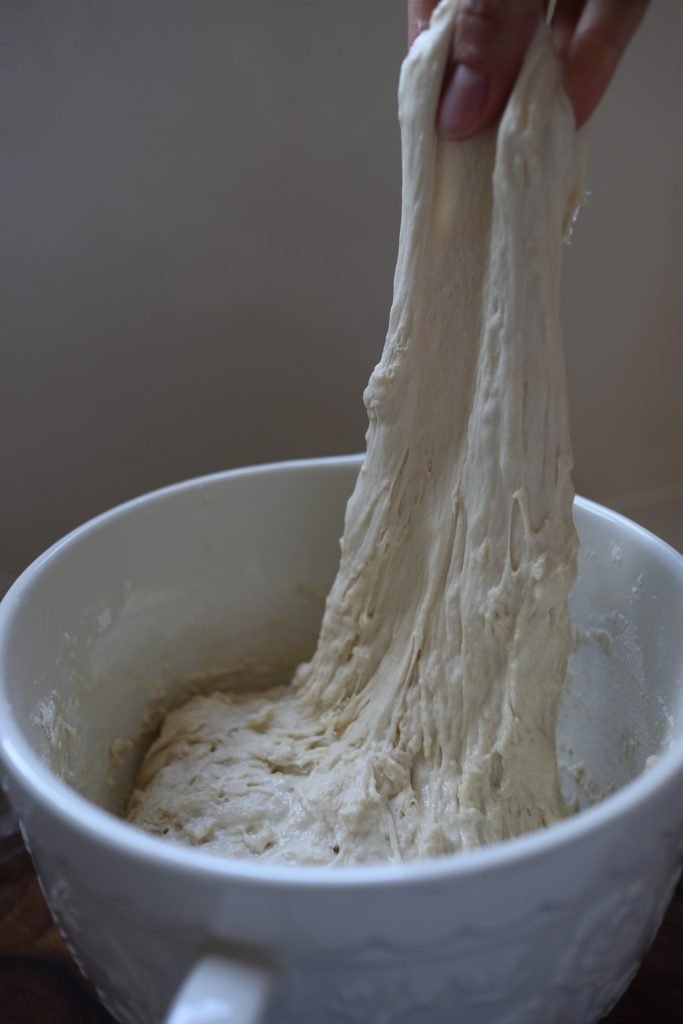
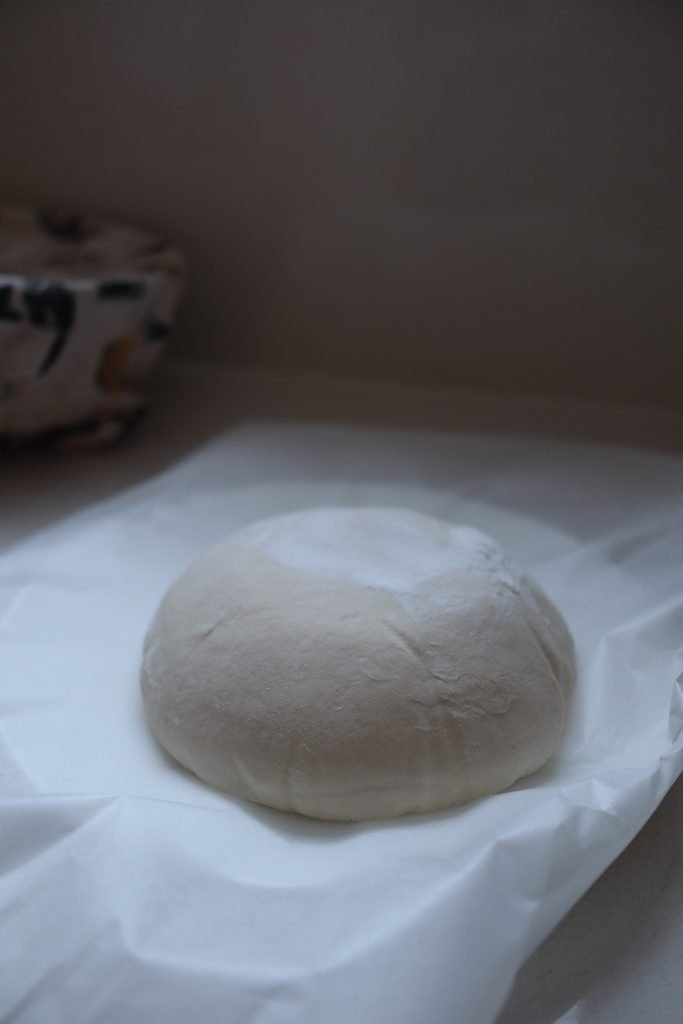
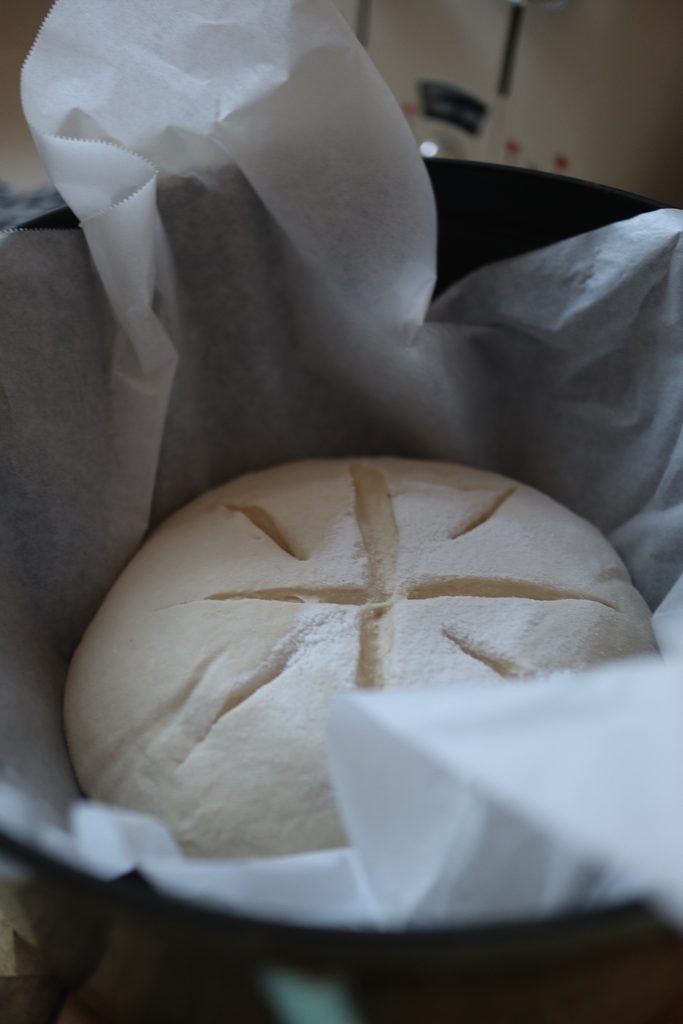
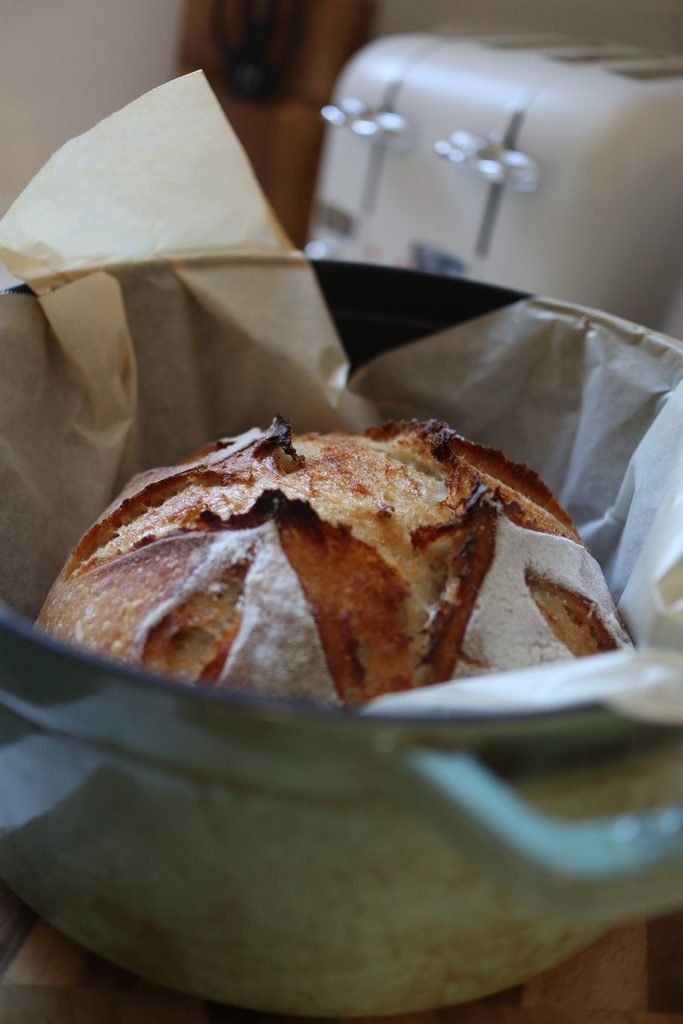
So here is just a nice gallery of my delicious bread. Of which I am eating a slice of with lots of butter and apricot jam at this very moment.